New project: What to Draw
Lately, I’ve wanted to draw more, but don’t always have ideas on what to draw. At the same time, I’ve wanted to play around with Netlify functions (full disclosure: I’m currently a Netlify employee). What do we do when we have web dev skills? Solve all of our problems by building a website!
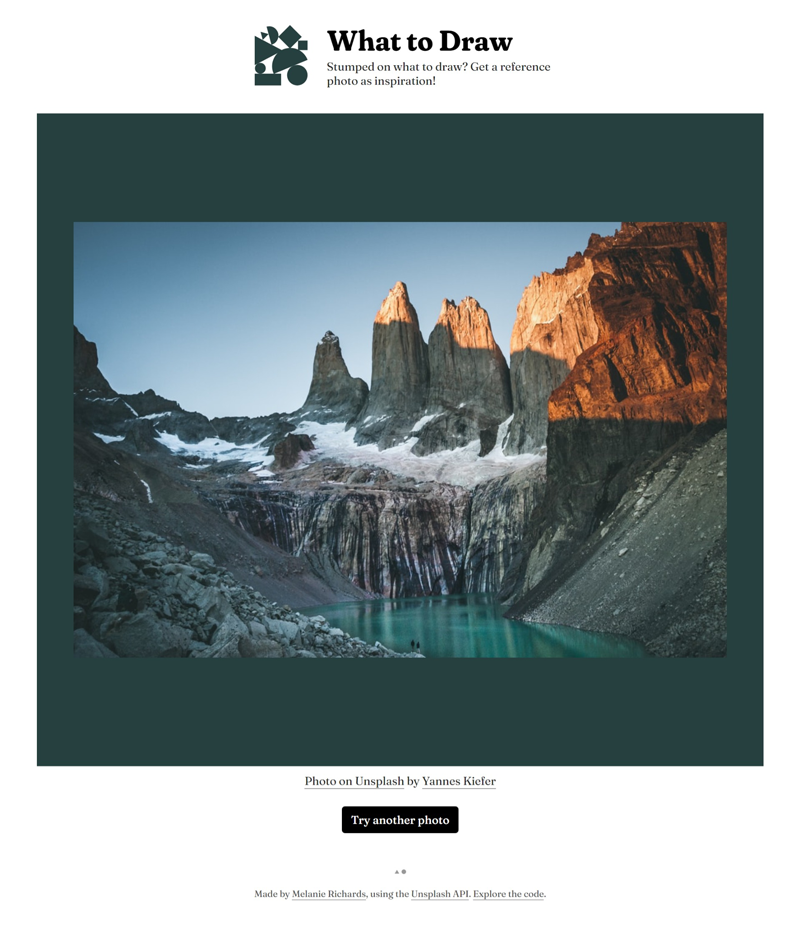
What to Draw is a teeny site that provides photographic inspiration for your next drawing. Click a button and fetch a random photo from the Unsplash site!
Serverless function
In the case of this drawing idea generator, the serverless function I’ve set up effectively acts as middleware between my client-side script and the Unsplash API. Instead of sending my API key in the clear, or spinning up my own backend to protect it, I can make a fetch request to my custom photos function. This in turn requests a random photo from the Unsplash API, using the API key I’ve stored as an environment variable in the Netlify app.
If you’d like an end-to-end tutorial on using Netlify functions to make API calls—including developing locally with functions using the Netlify CLI—I would suggest following along with Up and Running with Serverless Functions, compiled by my now-colleague Ben Hong. The only notable difference is that Ben’s example uses an API that does not require an API key, so my photos function can serve as an example as to how to reference a key you’ve stored in Netlify environment variables. As an alternative, Sia Karamalegos also has a great Netlify functions walkthrough post incorporating API keys.
The photo rendering area
The cool thing about the Unsplash photo API is that it returns a color as part of an individual photo’s metadata. I’ve used this to skin the photo rendering area (and the header SVG icon) to match the retrieved photo:
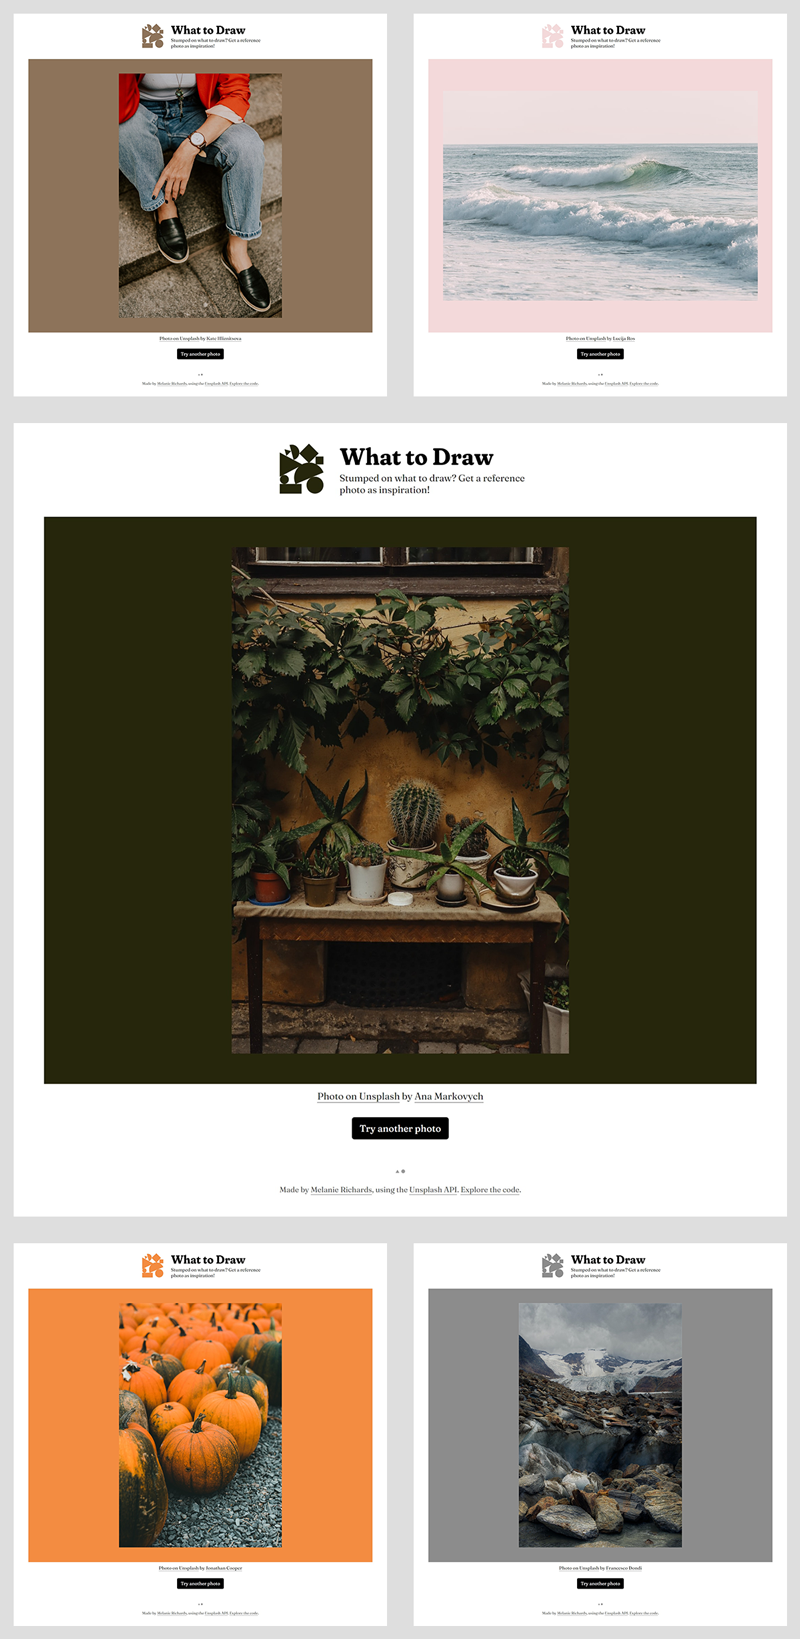
I’m not sure how their color selection process works, but it’s pretty nifty in that it doesn’t return a muddy brown for every photo (a concern in taking average color values).
That photo rendering area also takes advantage of CSS aspect ratios:
/* .reference__image is an img element */

@supports (object-fit: contain) {
  .reference__image {
    width: 100%;
    height: 100vh;
    object-fit: contain;
  }

  @supports (aspect-ratio: 1) {
    .reference__image {
      height: auto;
      max-height: 100vh;
      aspect-ratio: 3 / 4;
    }
  }
}
If the browser supports object-fit, I size the image to 100% of the width of its container, and 100% of the viewport height. object-fit is set to contain, so that the image contents scale down to fit within both dimensions of the img element, but the original aspect ratio of those contents is preserved. 100vh can feel a little too tall on tall-and-skinny mobile-ish viewports, though, especially if the current photo is in landscape orientation.
So, if the browser supports aspect-ratio (which has just arrived in iOS 15), I’ve set the aspect-ratio to 3 / 4, a common portrait aspect ratio. A max-height then clamps the image rendering area to be no taller than the viewport height, so that you can see the entire image at once when the viewport window is in a landscape orientation.
To help visualize this the difference on a narrow viewport, here is a comparison of the layout using aspect-ratio (left), and the fallback layout (right):
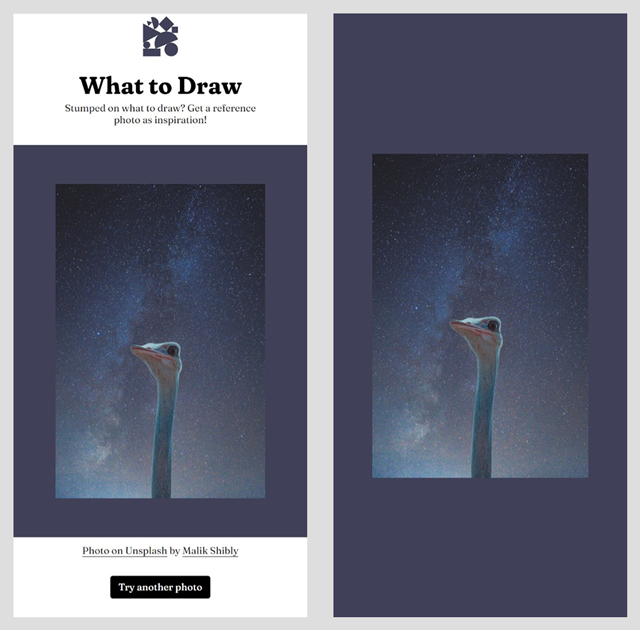
The viewports are the same dimensions, as are the rendered size of the photo contents. When using aspect-ratio, however, the user now has access to more content vs just the photo rendering area.
A note on photo APIs and alt text
It ended up that one of the most challenging parts of this project was finding a photography API that returns alternative text for images! My first choice was to use the Pexels API, as I feel they have a good selection of images for drawing inspiration purposes. However, neither the Pexels API nor the Pixabay API appear to return anything approximating image alt text.
Unsplash ended up winning for this reason, and it’s still not perfect. The photo response can include a usable alt_description value, description value, or both. I’m not sure if this text is generated by a human or a machine, but I’ve opted to prioritize alt_description, fall back to description, and finally fall back to “No description provided” if both return the null string.
It seems quite odd to me that more photography APIs don’t support alternative text at this point, but in any case I’ll try to find a way to make that suggestion to those other APIs.
What’s next
I might add the option to filter photo results by a couple of parameters, including category and image orientation. That can be done by using the POST method to customize requests made to the serverless function from client-side script (here’s an example from Ben again). That all sort of depends on how I end up using this site, and if it’s useful to anyone else who might benefit from this drawing idea generator.
In the meantime, you can play with the What to Draw generator and check out the code on Github (pardon my YOLO JavaScript style). I should note that my Unsplash API calls are currently limited to 50/hour, so if you mash on that button pretty hard, you might receive a rate-limiting error. In any case, happy drawing! 🎨